Vinyl flooring is one of the most popular flooring choices for both residential and commercial applications. It is a cost-effective, durable and easy to maintain option that can be found in a variety of textures and colors. In this article, we will discuss the various steps involved in vinyl floor installation, from planning to post-installation maintenance.
Planning Your Vinyl Floor Installation
Before you begin your vinyl floor installation, you will need to plan out the project. First, you will need to decide which type of vinyl flooring is best for your application. There are several types of vinyl flooring available, including sheet vinyl, plank vinyl, and tile vinyl. In addition, you will need to consider the size of the room and the amount of traffic it will receive.
Once you have selected the type of vinyl flooring that is best for your application, you will need to measure the room and purchase enough material for your project. It is important to purchase a little extra material in case of mistakes or an unexpected layout change. You will also need to purchase the necessary tools and supplies, such as a saw, utility knife, adhesive, and grout.
Preparing the Subfloor
Before you install the vinyl floor, you will need to prepare the subfloor. This includes removing any existing flooring and debris, and cleaning the subfloor. You will also need to check for any damage, such as cracks, nail pops, and water damage. If necessary, you will need to repair any damage before you can proceed.
In addition, you will need to ensure that the subfloor is level and structurally sound. If the subfloor is uneven, you will need to use a self-leveling compound to even it out. Once your subfloor is prepared, you will need to install a vapor barrier to protect the vinyl floor from moisture.
Installing the Vinyl Floor
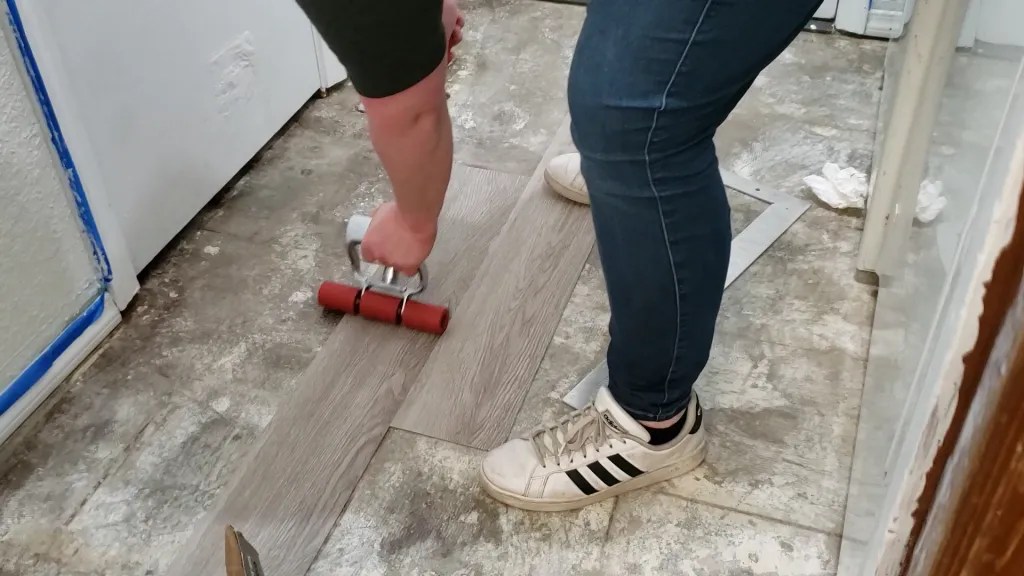
Once the subfloor is prepared, you can begin installing your vinyl floor. Depending on the type of vinyl flooring you have chosen, the installation process may vary. For sheet vinyl, you will need to apply adhesive to the subfloor and lay the vinyl sheets in place. For plank and tile vinyl, you will need to use a trowel to spread adhesive and press the planks or tiles into place.
Once the vinyl floor is installed, you will need to grout the seams to prevent water damage. You will also need to seal the edges of the floor to prevent moisture from seeping in. Finally, you will need to allow the adhesive to dry before you can walk on the floor.
Post-Installation Maintenance
Once your vinyl floor is installed, you will need to take proper care of it. You will need to sweep and mop the floor regularly to keep it looking its best. In addition, you will need to periodically check for loose or damaged planks or tiles and replace them as necessary. You will also need to avoid using harsh chemicals or abrasives when cleaning your vinyl floor.
Conclusion
Installing a vinyl floor is a great way to add style and value to your home or business. With proper planning, preparation and installation, you can enjoy a beautiful, durable and easy-to-maintain floor for many years to come. By following the steps outlined in this article, you can ensure that your vinyl floor installation is a success.


:max_bytes(150000):strip_icc()/easy-install-plank-vinyl-flooring-1822808-02-19a3b80cd59943938a401560203706f3.jpg)


Related Posts


