Vinyl flooring is a great way to add a stylish, durable, and easy-to-clean surface to any room of your home. Whether you’re looking to update your kitchen, bathroom, or living room, vinyl flooring is an affordable and attractive solution.
Installing vinyl flooring can be done in a few steps that don’t require any special tools. With some preparation and patience, you can create a beautiful, long-lasting floor that will be a stylish addition to your home.
Steps for Preparing the Room
Before you begin installing the vinyl flooring, you’ll need to make sure the room is properly prepared for the installation. Begin by removing all furniture, rugs, and anything else that may be in the way. Any existing flooring will also need to be removed.
Next, check the subfloor for any signs of damage. If the subfloor is damaged, it should be repaired before you begin the installation process. You’ll also need to make sure the subfloor is level and free of debris.
Finally, you’ll need to measure the area where you will be installing the vinyl flooring. This will help you determine how much vinyl you need to purchase.
Gathering the Materials and Tools
Once you’ve prepared the room, it’s time to gather the materials and tools you’ll need to install the vinyl flooring. You’ll need to purchase the vinyl flooring, as well as any adhesive or glue recommended by the manufacturer. You may also need to purchase a flooring trim or transition strips.
In addition to the materials, you’ll need the following tools:
- Tape measure
- Utility knife
- Chalk line
- Carpenter’s square
- Carpenter’s level
- Trowel (for adhesive)
- Hammer and nails (for trim)
Laying the Vinyl Flooring
Once you have all of your materials and tools gathered, you’re ready to begin laying the vinyl flooring. Begin by laying the vinyl sheet flat on the floor and using the utility knife to cut the sheet to fit the room. You’ll need to make sure the cuts are precise so the pieces fit together correctly.
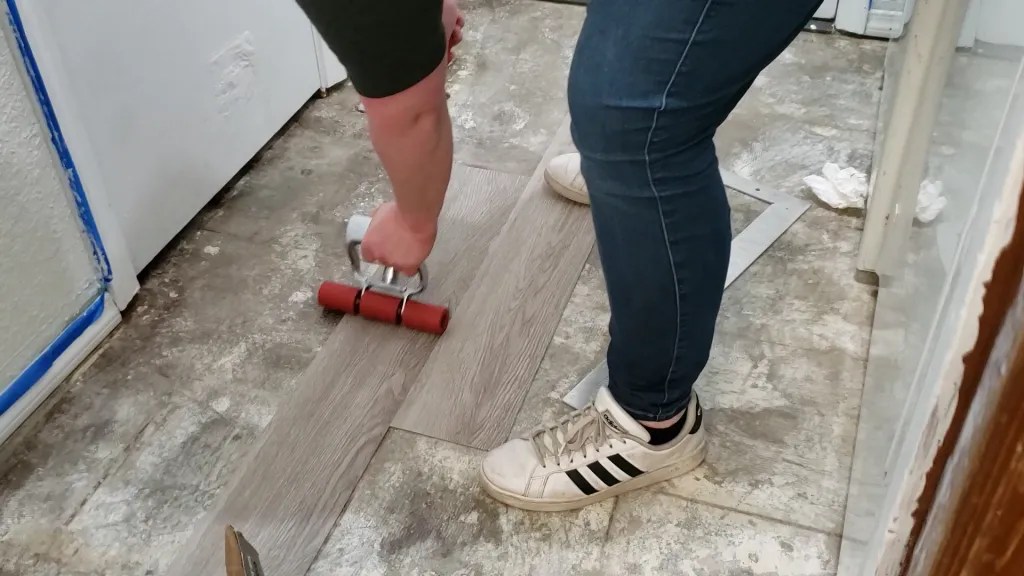
Next, you’ll need to apply the adhesive or glue to the subfloor. Use the trowel to spread the adhesive evenly. Once the adhesive is spread, you can begin laying the vinyl flooring. Make sure to press the pieces firmly in place and use the carpenter’s level to make sure the floor is level.
When all of the pieces have been laid, use the hammer and nails to attach the trim or transition strips. This will help create a finished look and will also help prevent the edges of the vinyl flooring from curling.
Caring for Vinyl Flooring
Once you’ve installed the vinyl flooring, it’s important to take care of it properly. Make sure to sweep or vacuum the floor regularly to remove any dirt or debris. You can also mop the floor with a mild detergent to keep it looking clean and fresh.
It’s also important to protect the vinyl flooring from damage. Use area rugs and chair pads to protect the floor from furniture and heavy objects. You should also avoid dragging heavy objects across the floor, as this can cause scratches or other damage.
Conclusion
Installing vinyl flooring is a great way to update the look of any room of your home. Although it may seem intimidating, it’s actually a fairly straightforward process that anyone can do with the right materials and tools. With some preparation and patience, you can create a beautiful, long-lasting floor that will be a stylish addition to your home.
:max_bytes(150000):strip_icc()/easy-install-plank-vinyl-flooring-1822808-02-19a3b80cd59943938a401560203706f3.jpg)


:max_bytes(150000):strip_icc()/easy-install-plank-vinyl-flooring-1822808-09-a1f83db7bdf74f279f45594b897de82d.jpg)


Related Posts


