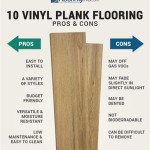
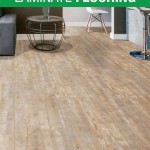
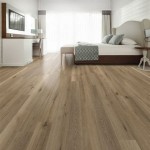
Vinyl flooring is a durable, cost-effective, and aesthetically pleasing solution for residential and commercial spaces. Yet, like all flooring solutions, vinyl floors are sometimes subject to damage, requiring repairs. Here we will provide a comprehensive guide to vinyl floor repair, including the materials, tools, and techniques needed to do the job effectively.
Assessing the Damage
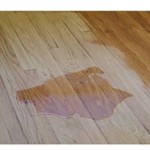
The first step to successful vinyl floor repair is to assess the damage. If there is a large area of damage, or the damage is too extensive, it may be time to consider replacement. However, in many cases, vinyl floor repair is possible. If the damage is limited to a small area, such as a single tile or a few damaged planks, it is likely repairable.
Preparing for Repair
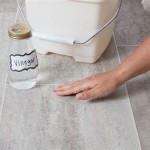
Once you’ve determined that repair is an option, you’ll need to prepare the floor for repair. Start by removing any furniture from the area, wiping up any dust, dirt, or debris. Use a wet mop or cloth to clean the floor before repair. This will help ensure that the repair adheres properly and looks flawless.
Gathering Materials
Once the floor is prepped, it’s time to gather the materials needed for repair. Depending on the type of damage, the materials may vary. These materials may include:
- Vinyl floor repair kit
- Adhesive
- Vinyl patch
- Utility knife
- Putty knife
- Sandpaper
Repairing Small Holes and Tears
Small holes and tears can be repaired using a vinyl floor repair kit. These kits typically include a color-matched vinyl patch, adhesive, and a putty knife. To begin, cut the patch to fit the hole or tear, then apply adhesive to the patch and the area of the floor. Use the putty knife to press the patch into place and smooth out any air bubbles. Allow the adhesive to dry completely before moving on.
Repairing Large Areas of Damage
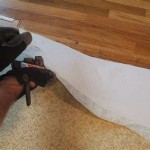
For large areas of damage, such as a torn seam or a large hole, the repair process is slightly different. Begin by removing any loose pieces of vinyl and sanding the area. Wipe away any dust or debris before applying adhesive to the area. Cut a piece of vinyl to fit the area, then press it into place with a putty knife. Smooth out any air bubbles and allow the adhesive to dry completely.
Caring for Your Vinyl Floor
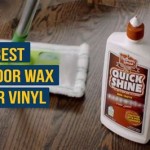
Once your vinyl floor repair is complete, it’s time to start caring for your floor. Regularly cleaning and vacuuming your floor can help keep it looking like new. Avoid using abrasive cleaners or harsh scrubbing tools, as these can damage the vinyl. Following these tips can help keep your vinyl floor looking beautiful for years to come.


Related Posts