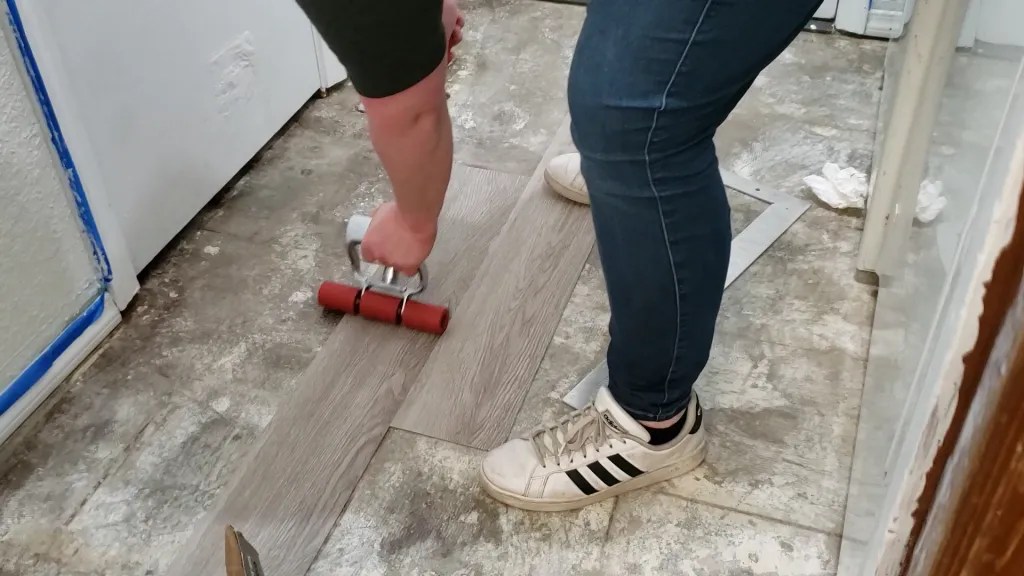
Laying vinyl floor planks is a great way to update any space in your home. While it can be a bit time consuming, the rewards of a polished, professional look make it a great DIY project for anyone with some patience and a willingness to learn. In this article, we’ll provide a step-by-step guide to laying vinyl floor planks, so you can upgrade your home in no time.
Gathering the Materials Needed
Before you can begin laying vinyl floor planks, you need to make sure that you have all of the necessary materials. You will need vinyl floor planks, a measuring tape, a utility knife, a saw, a chisel, a hammer, a mallet, and a level. You may also need adhesive, depending on the type of planks you are using. Make sure that you have all of these items before you begin the project.
Preparing the Subfloor
The next step is to prepare the subfloor for the vinyl floor planks. You will need to make sure that the subfloor is clean, dry, and level. If there are any gaps or imperfections in the subfloor, you will need to fill them in with a wood filler or other material. Once you have a level surface, you can begin laying your planks.
Calculating the Amount of Planks Needed
When laying vinyl floor planks, it’s important to calculate the amount of planks that you will need. Measure the length and width of the area you are covering and multiply them together to get the square footage. You should then add 10-15% extra to account for any wastage or cutting errors. You can then use this number to buy the appropriate amount of planks.
Laying the Planks
Once all the materials and supplies are gathered and the subfloor is prepared, you can begin laying your vinyl floor planks. Start in one corner of the room and work your way out. Make sure that the planks are tightly fitted together and that there are no gaps between them. If you’re using adhesive, make sure you apply it as you go.
Cutting the Planks
At some point, you may need to cut your vinyl floor planks to fit the space. To do this, measure the area you need to cut and mark it with a pencil. Then, use a saw or utility knife to cut along the line you have marked. You can use a chisel and hammer to smooth out any rough edges.
Checking that it is Level
Once you have finished laying your vinyl floor planks, you should check that it is level and stable. To do this, place a level across the planks and make sure that it is even. If there are any dips or rises, you can use a mallet to even them out.
Conclusion
Laying vinyl floor planks is a great way to update any space in your home. With the right materials and a little bit of patience, you can create a polished, professional look for any room. Just remember to measure and calculate the amount of planks you need, prepare the subfloor, lay the planks, and check that it is level before you can enjoy the results of your hard work. Good luck!


:max_bytes(150000):strip_icc()/easy-install-plank-vinyl-flooring-1822808-09-a1f83db7bdf74f279f45594b897de82d.jpg)

:max_bytes(150000):strip_icc()/easy-install-plank-vinyl-flooring-1822808-02-19a3b80cd59943938a401560203706f3.jpg)


Related Posts


