Vinyl plank flooring is a great way to give any room a modern and stylish look. It’s also relatively easy to install and can last for years with proper care. Whether you’re a DIYer or a professional installer, this guide will walk you through the steps of laying vinyl plank flooring.
Materials Needed for Installing Vinyl Plank Flooring
Before you begin, make sure you have all the necessary tools and materials. This includes:
- Vinyl plank flooring
- Underlayment
- Tape measure
- Chalk line
- Utility knife
- Vinyl plank adhesive
- Notched trowel
- Mop and bucket
Preparing the Room
Before you can begin installing the vinyl plank flooring, you’ll need to prepare the room. This includes removing any existing flooring and making sure the subfloor is in good condition. If you’re installing over concrete, make sure there are no cracks or other imperfections. If you’re installing over wood, make sure the subfloor is level and free of any nails or screws.
Laying the Underlayment
Once the subfloor is prepared, you can begin laying the underlayment. This is a thin layer of material that provides an extra layer of cushion and insulation. Start by unrolling the underlayment and cutting it to fit the room. Make sure to overlap any seams by at least 6 inches and use a heavy-duty tape to secure the seams. Once the underlayment is laid and secured, you’re ready to move on to the next step.
Measuring and Cutting the Vinyl Plank Flooring
Before you begin installing the vinyl plank flooring, you’ll need to measure and cut it to fit the room. Start by measuring the length of the room and then measuring and marking the vinyl plank to the same length. Once all the pieces are cut, you’re ready to begin laying the vinyl plank flooring.
Laying the Vinyl Plank Flooring
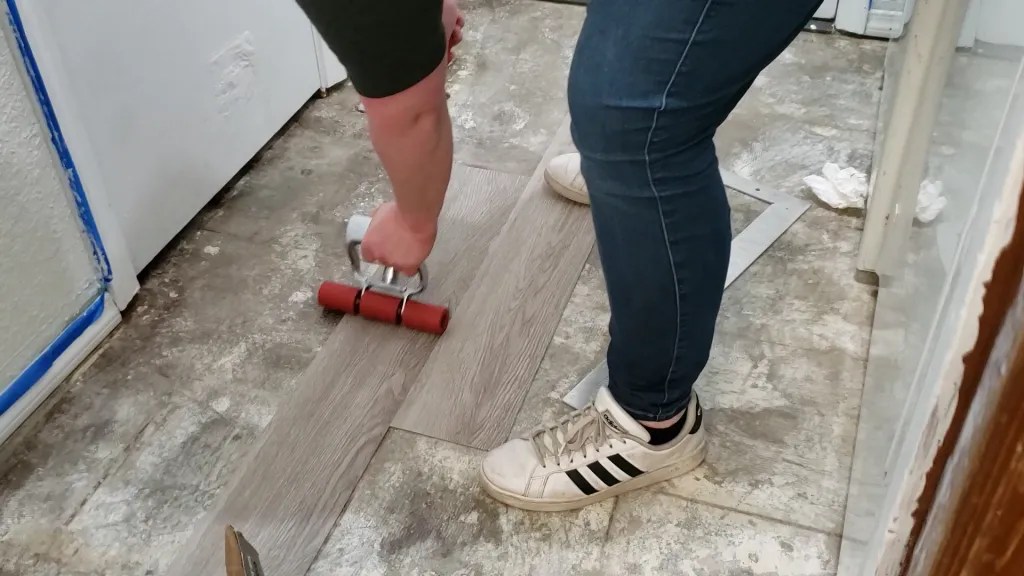
Start by laying the first plank along the wall. Make sure it’s lined up straight and tight against the wall. Once the first plank is laid, you can begin laying the rest of the planks. Make sure to use a notched trowel to spread the vinyl plank adhesive evenly. Once all the planks are laid, you’re ready to move on to the next step.
Cleaning and Sealing the Vinyl Plank Flooring
Once all the planks are laid, it’s time to clean and seal the floor. Start by mopping the floor with a damp mop to remove any dirt or debris. Once the floor is clean, you can apply a sealant to help protect the floor from wear and tear. Make sure to follow the manufacturer’s instructions when applying the sealant.
Conclusion
Installing vinyl plank flooring is a relatively easy process that can be done by DIYers and professional installers alike. With the right materials and tools, you can lay a beautiful vinyl plank floor in any room of your home. Just remember to take your time, measure and cut the planks accurately, and make sure to clean and seal the floor when you’re finished.


:max_bytes(150000):strip_icc()/easy-install-plank-vinyl-flooring-1822808-02-19a3b80cd59943938a401560203706f3.jpg)


:max_bytes(150000):strip_icc()/easy-install-plank-vinyl-flooring-1822808-09-a1f83db7bdf74f279f45594b897de82d.jpg)


Related Posts


