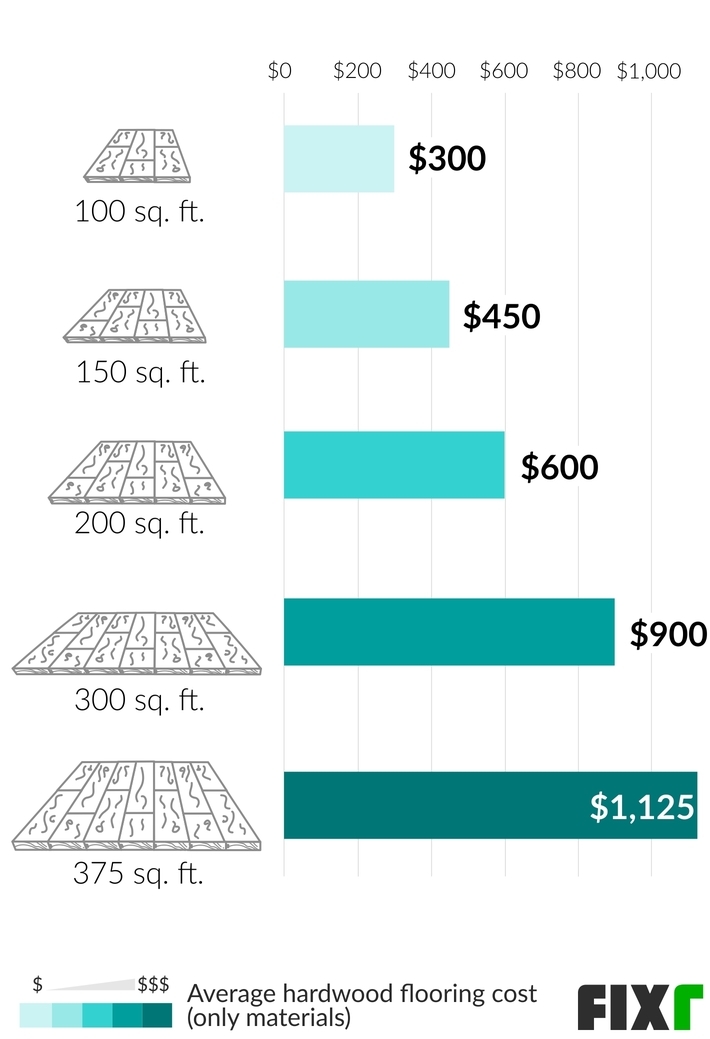
Installing hardwood floors can add a beautiful and durable finish to any home. Hardwood floors are a great investment that can last for decades with proper care. In addition, hardwood floors are easy to clean and maintain, adding to their overall appeal. However, there is a lot of work involved when it comes to installing hardwood floors. In this article, we will discuss the steps involved in the installation process, as well as some tips to ensure your hardwood floors look their best.
Choosing the Right Hardwood Flooring
Before you can start installing your hardwood floors, you need to make sure you select the right type of wood for your space. Different types of wood have different characteristics and require different levels of maintenance. For example, some woods are more durable than others, and some woods are better for high-traffic areas than others. It is important to take into account the climate of your home and the amount of foot traffic the area will get when selecting the type of wood.
Preparing the Subfloor
Once you have chosen the right type of hardwood flooring, the next step is to prepare the subfloor. The subfloor is the layer of material between the existing floor and the new hardwood floor. The subfloor should be level, clean, and free of any debris or other materials. It is also important to make sure the subfloor is properly sealed and moisture-free, as moisture can cause the hardwood planks to warp over time.
Installing the Hardwood Flooring
Once the subfloor is prepped, the next step is to install the hardwood flooring. This is a process that involves cutting, fitting, and nailing the planks into place. It is important to make sure the planks fit together tightly and are properly secured. You may want to consider using a power saw or miter saw to make precise cuts, as well as a nail gun for easier and faster installation.
Finishing the Installation
Once the hardwood flooring is installed, the next step is to finish the installation. This involves sanding and staining the floor, as well as adding a protective coating. Sanding the floor helps to smooth out any imperfections, while staining helps to add color and luster to the floor. Finally, a protective coating is added to help keep the floor looking its best for years to come.
Caring for Your Hardwood Floors
Once the installation is complete, it is important to properly maintain your hardwood floors. This includes vacuuming regularly to remove dust and dirt, as well as mopping and wiping up any spills as soon as they occur. In addition, it is important to keep furniture and other items off the floor, as they can cause scratches and damage over time. Finally, you should consider adding a protective sealant to your hardwood floors every few years to help protect them from wear and tear.
Conclusion
Installing hardwood floors is a great way to add value and beauty to your home. However, it is important to make sure the installation process is done correctly in order to ensure your floors look their best for years to come. By following the steps outlined in this article, you can ensure your hardwood floors are installed correctly and will last for many years.


Related Posts


