Installing a 3/4 hardwood floor can add beauty and value to any home. It is a great investment that will last for years if done correctly. Installing this type of flooring can be a big job, so it is important to know the basics of how to do it properly. Here are some tips and steps to help you get started.
1. Measure the Area
Before you begin, you will need to measure the area where you plan to install the flooring to determine how much you need to buy. Measure each room separately, as the measurements may vary. Make sure to include any doorways, closets, and other obstacles that may affect the installation process.
2. Prep the Subfloor
Before you install your 3/4 hardwood floor, you will need to make sure the subfloor is properly prepared. This includes making sure that the floor is level and free of any debris. If there are any gaps or cracks in the subfloor, fill them with a self-leveling compound.
3. Choose the Right Underlayment
Underlayment is a thin layer of material that is placed between the subfloor and the hardwood floor. This helps to cushion the floor and reduce noise. It is important to choose the right type of underlayment for the type of flooring you are installing. If you are installing 3/4 hardwood flooring, you should use a foam underlayment that is specifically designed for hardwood floors.
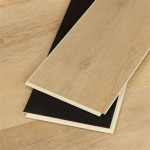
4. Prepare the Wood
Once you have purchased the 3/4 hardwood flooring and underlayment, you will need to prepare the flooring for installation. This includes cutting the planks to the correct length and width, sanding the edges, and staining or finishing the wood. You will also need to acclimate the wood to the room’s temperature and humidity levels for a few days before you begin installation.
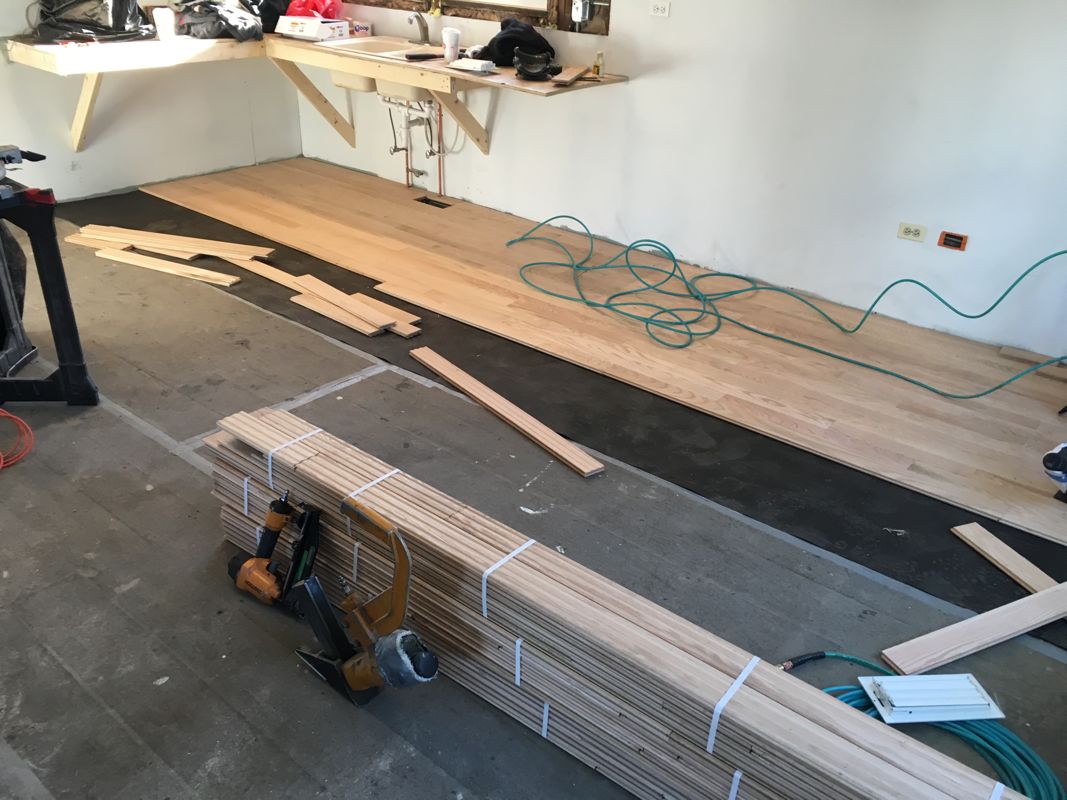
5. Lay the Flooring
Once all the pieces of 3/4 hardwood flooring have been prepared, you can start to lay the flooring. Start in the corner of the room and work your way out. Use spacers between the planks to ensure proper spacing. You may need to use a nail gun or adhesive to secure the planks in place.
6. Install the Trim
Once the flooring is laid, you will need to install the trim pieces. This includes baseboard and quarter round trim that goes along the edges of the room. These pieces help to protect the edges of the floor and give the room a finished look.
7. Clean Up
Once the floor is installed, you will need to clean up any debris from the installation process. Vacuum the floor to remove any dust and debris, and then mop it with a damp cloth to remove any residue from the installation. Make sure the floor is completely dry before you walk on it.
Installing 3/4 hardwood flooring can be a big job, but with the right preparation and know-how, it can be done successfully. Follow these steps and you will have a beautiful, durable hardwood floor that will last for years to come.


Related Posts