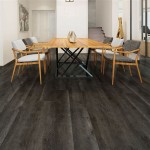
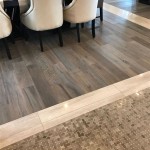
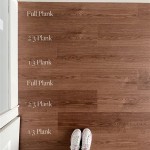
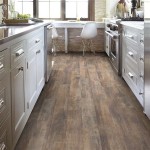
Are you looking for tips on how to repair click lock vinyl plank flooring? If so, you’ve come to the right place. Click lock vinyl plank flooring is popular for its durability and affordability, but it’s not immune to damage. Repairs can be difficult and time-consuming, but with the right tools and supplies, you can get the job done right. In this article, we’ll discuss everything you need to know about repairing click lock vinyl plank flooring.
Assessing the Damage
The first step in repairing click lock vinyl plank flooring is assessing the damage. Depending on the type of damage, you’ll need to determine the best method of repair. If the damage is minor, you may be able to repair it yourself. However, if the damage is extensive, you may need to enlist the help of a professional.
Tools and Supplies
Before you begin your repair, make sure you have the right tools and supplies. This includes a utility knife, a putty knife, a mallet, a hammer, a pry bar, a vacuum, a dustpan, a wet/dry vac, a orbital sander, a drill, and sandpaper. Also, make sure you have a patching compound, a sealant, and a flooring adhesive.
Removing Damaged Planks
Once you have the necessary tools and supplies, it’s time to start removing the damaged planks. Begin by using the utility knife to cut out the damaged section of the plank. If the damage is extensive, you may need to use the mallet and pry bar to remove the entire plank. Once the plank is removed, use the vacuum and dustpan to remove any debris. You may also need to use the wet/dry vac to remove any water or moisture.
Installing New Planks
After the damaged plank is removed, you’ll need to install the new plank. Begin by using the orbital sander to sand the edges of the plank to ensure a smooth fit. Once the plank is sanded, use the drill to make the necessary holes for the click lock. Finally, use the flooring adhesive to install the plank and the sealant to seal the edges.
Finishing Touches
Once the new plank is installed, you’ll need to make a few finishing touches. Begin by using the patching compound to fill in any gaps or cracks. Once the patching compound is dry, use the sandpaper to smooth out the surface. Finally, use the sealant to seal the edges of the plank.
Conclusion
Repairing click lock vinyl plank flooring can be a difficult task, but with the right tools and supplies, you can get the job done right. Be sure to assess the damage first and then gather the necessary tools and supplies. After that, you can begin removing the damaged planks and installing the new ones. Finally, finish the job by applying the patching compound, sanding the surface, and sealing the edges. With these tips, you’ll be able to repair your click lock vinyl plank flooring in no time.


Related Posts