When it comes to installing a new hardwood floor, one of the most important parts of the process is ensuring it’s properly adhered. Hardwood floor adhesive is the solution, providing an extra layer of protection against shifting, buckling, and other potential issues. In this article, we’ll discuss everything you need to know about hardwood floor adhesive.
Choosing the Right Hardwood Floor Adhesive
The most important step in selecting the right hardwood floor adhesive is to research and find the right type for your flooring. Typically, the type of adhesive you use should match the type of hardwood you’re installing. For example, if you’re installing engineered hardwood, you’ll need an engineered hardwood adhesive. You should also be sure to consider the type of subfloor you’re working with, as well as the environment of the room you’re working in.
Preparing for Installation
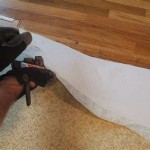
Before you begin the installation process, it’s important to properly prepare your hardwood flooring and subfloor. Make sure to clean the surface of the hardwood and subfloor using a vacuum and damp mop, removing any dirt and debris. If you’re installing over a concrete subfloor, you may need to use a concrete sealer before applying the adhesive. This helps to ensure that the adhesive is properly adhered and there are no air pockets between the hardwood and subfloor.
Applying the Adhesive
Once you’ve chosen and prepared the right adhesive and subfloor, it’s time to start applying the adhesive. Start by spreading a thin layer of adhesive onto the subfloor, using a notched trowel or other appropriate tool. Make sure to evenly spread the adhesive, and be careful not to leave any air pockets. Once the adhesive is spread, allow it to dry for the recommended amount of time before laying the hardwood floor.
Laying the Hardwood Floor
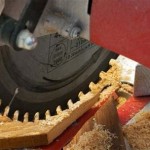
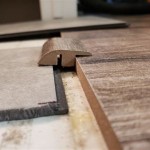
Once the adhesive has set, you can begin laying the hardwood floor. Begin in one corner and lay the planks in a staggered pattern, ensuring that the edges are flush. Use a rubber mallet to gently tap them into place, and make sure to check that the planks are level. If there are any gaps between the planks, you can use a thin bead of adhesive to fill them in.
Cleaning Up and Finishing
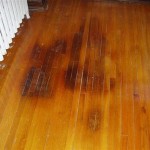
Once all the planks are laid, it’s time to clean up the excess adhesive and finish the floor. Use a damp cloth to wipe away any excess adhesive, and use a putty knife to scrape off any dried adhesive. Once the floor is clean and dry, you can finish it with a sealer or stain, depending on your preference.
Conclusion
Choosing the right hardwood floor adhesive is essential for ensuring a secure, long-lasting installation. Make sure to select the right type for your hardwood and subfloor, and follow the steps laid out in this article for a successful installation. With the right adhesive and preparation, you’ll be sure to have a beautiful hardwood floor that will last for years to come.


Related Posts