Installing a floating vinyl floor can be a great way to update the look of any room in your home. Floating vinyl flooring is a convenient and cost-effective alternative to traditional flooring materials, such as hardwood or tile. With a few simple steps, you can quickly and easily install a floating vinyl floor in almost any room. Read on to learn more about the steps involved in installing a floating vinyl floor.
Preparing the Room
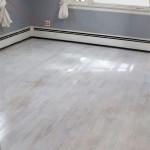
The first step in installing a floating vinyl floor is to prepare the room. Start by removing any furniture and existing flooring materials. It’s important to make sure the surface is clean, flat, and free of debris. Any bumps or dips in the floor must be filled in before you can install the new floor. Finally, check to make sure the subfloor is in good condition and free of moisture.
Installing the Vinyl Floor
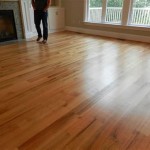
Once the room is prepared, you can start to install the vinyl floor. Begin by laying the first piece of the vinyl floor in the corner of the room. Make sure to use the manufacturer’s instructions for the exact measurements and placement of the vinyl flooring. Once the first piece is in place, use a rubber mallet to gently tap it into place. Continue to lay the vinyl flooring pieces in a staggered pattern until the entire room is covered.
Trimming the Edges
Once the vinyl floor is completely laid, you’ll need to trim the edges to fit the room. Use a jigsaw to cut the vinyl flooring along the walls and doorways. Make sure to use a sharp blade and be careful not to damage the flooring. Once the edges have been trimmed, use a sharp utility knife to cut out any notches necessary to fit around any obstacles.
Securing the Vinyl Flooring
The next step is to secure the vinyl flooring to the subfloor. Start by applying a layer of mastic or adhesive to the subfloor. Use a trowel to spread the adhesive evenly across the surface. Next, place the vinyl flooring pieces into the adhesive and press them firmly into place. Finally, use a rolling pin to press the vinyl flooring firmly into the adhesive and ensure a tight bond.
Finishing Touches
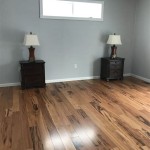
Once the vinyl flooring is secured, you can finish the installation by adding any trim or molding. Start by measuring and cutting the trim pieces to fit the perimeter of the room. Use a miter saw to get accurate cuts. Then, use a hammer and nails to secure the trim pieces to the walls. Finally, add a transition strip between the flooring and any adjacent surfaces, such as carpeting.
Caring for Your Vinyl Floor
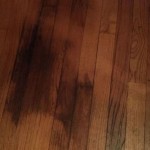
When it comes to caring for your new vinyl floor, it’s important to remember to sweep or vacuum the floor regularly to remove any dirt or debris. You should also use a damp mop to clean the floor occasionally. Avoid using any harsh or abrasive cleaners, as these can damage the vinyl flooring. Finally, it’s important to use protective pads or mats under furniture and appliances to prevent scratches or dents.


:max_bytes(150000):strip_icc()/plank-vinyl-for-self-install-floor-covering-1821633-481f81f35cee46f19ff4df2fe0b0caf1.jpeg)

:max_bytes(150000):strip_icc()/easy-install-plank-vinyl-flooring-1822808-09-a1f83db7bdf74f279f45594b897de82d.jpg)
:max_bytes(150000):strip_icc()/easy-install-plank-vinyl-flooring-1822808-02-19a3b80cd59943938a401560203706f3.jpg)


Related Posts