Gluing down vinyl plank flooring is an easy DIY job that can give your home or office a brand-new look. Installing vinyl plank flooring is a great way to update your space without spending a lot of money. It’s also a great choice for rooms that are prone to moisture because it resists water and is easy to clean. With a few simple steps, you can make sure your vinyl plank flooring is securely and properly installed.
Choosing Materials
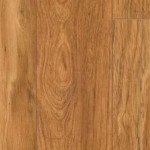
Before you start the installation process, it’s important to make sure you have the right materials. You’ll need vinyl plank flooring, a construction adhesive, and a roller. The construction adhesive helps to keep the planks in place and the roller ensures that the adhesive is applied evenly. Make sure to choose a construction adhesive that is specifically designed for vinyl plank flooring to ensure the best results.
Preparing the Subfloor
Before you begin the installation process, it’s important to make sure the subfloor is ready. Start by cleaning the surface to remove any dirt, dust, or debris. Then, check for any cracks or unevenness in the surface. If you find any, you’ll need to fill them with a leveling compound before you start the installation. Once the subfloor is clean and level, you can begin the installation process.
Applying the Adhesive
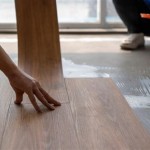
Once the subfloor is ready, you can start applying the adhesive to the back of the planks. Start in one corner and work your way out. Make sure to spread the adhesive evenly across the entire back of the plank. Once the adhesive is applied, you can lay down the plank and make sure it is secured in place. Use a roller to make sure the adhesive is applied evenly and securely.
Trimming the Planks
Once all of the planks are secured in place, you’ll need to trim any excess material from the edges. This will help to ensure a neat and seamless finish. To trim the planks, use a utility knife or a special vinyl plank cutting tool. Make sure to measure the area carefully before you begin trimming.
Finishing the Installation
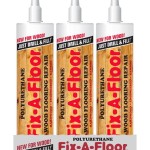
After the planks are trimmed, you can finish the installation by applying a sealant or grout to the seams. This will help to protect the seams and make sure they remain watertight. Once the sealant has been applied, you can enjoy your new vinyl plank flooring!
Maintenance
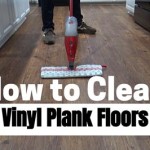
To get the best results from your vinyl plank flooring, it’s important to maintain it properly. Make sure to regularly sweep and mop the floor to remove any dirt or debris. You may also want to apply a protective coating to the surface to help protect it from wear and tear. With regular cleaning and maintenance, your vinyl plank flooring will look like new for years to come.


Related Posts