Installing vinyl flooring is a great way to give your home a fresh, modern look. Whether you’re installing it in your kitchen, bathroom, or any other room in your home, it’s an easy DIY project that can be completed in a short amount of time. With a few simple tools and supplies, you can get your new vinyl flooring installed in no time. This guide will walk you through the steps you need to take to successfully install your vinyl floor.
Gather Your Supplies
Before you begin, gather the supplies you’ll need for your vinyl flooring installation. You’ll need vinyl flooring, a utility knife, a straight edge, chalk line, a measuring tape, a notched trowel, and a roller. You’ll also need adhesive, a roller, and a floor leveler, if necessary. Make sure you have all of your supplies on hand before you begin.
Prepare the Subfloor
Before you begin installing your vinyl floor, prepare the subfloor. Make sure the surface is clean, dry, and free of debris. If there are any holes or cracks, make sure to patch them with the appropriate material. If the floor is uneven, you’ll need to use a floor leveler to even out the surface. After the subfloor is prepped, use a chalk line to mark a straight line across the floor.
Layout the Vinyl Planks
Once the subfloor is prepped and the chalk line is in place, you can begin laying out the vinyl planks. Start in one corner and measure and cut the planks to fit the room. You may need to use a utility knife and straight edge to cut any pieces that don’t fit. As you go, make sure to keep the planks in line with the chalk line. When you reach the opposite wall, make sure to leave a slight gap for expansion.
Apply the Adhesive
Once the planks are laid out, it’s time to apply the adhesive. Start in one corner and use a notched trowel to spread the adhesive evenly onto the subfloor. Make sure to cover the entire area with the adhesive. As you go, make sure to press the planks firmly into the adhesive. Apply the adhesive to the entire floor before continuing.
Roll and Trim the Vinyl Planks
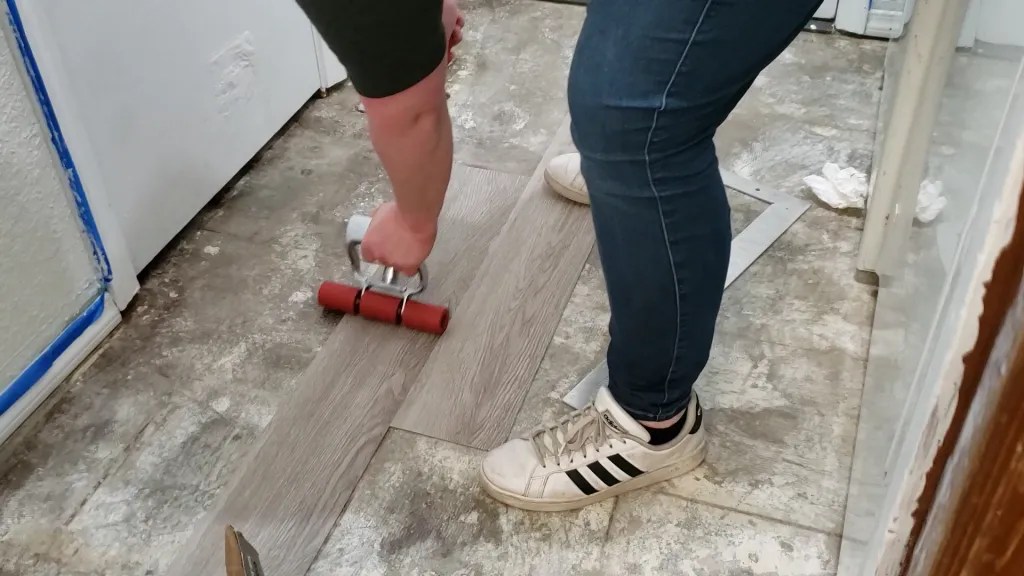
Once the adhesive is applied, use a roller to press the planks into the adhesive. Make sure to roll the entire floor to ensure a tight bond. Once the planks are in place, you can use a utility knife to trim any excess material. Make sure to use caution when using the knife, as it is sharp.
Finish the Floor
Finally, once the planks are trimmed, you can finish the floor. Use a cloth to wipe away any excess adhesive, and then apply a sealant to the floor. This will help protect the floor and keep it looking great for years to come. Once the sealant is applied, your vinyl flooring installation is complete.


:max_bytes(150000):strip_icc()/easy-install-plank-vinyl-flooring-1822808-09-a1f83db7bdf74f279f45594b897de82d.jpg)


:max_bytes(150000):strip_icc()/easy-install-plank-vinyl-flooring-1822808-02-19a3b80cd59943938a401560203706f3.jpg)


Related Posts


